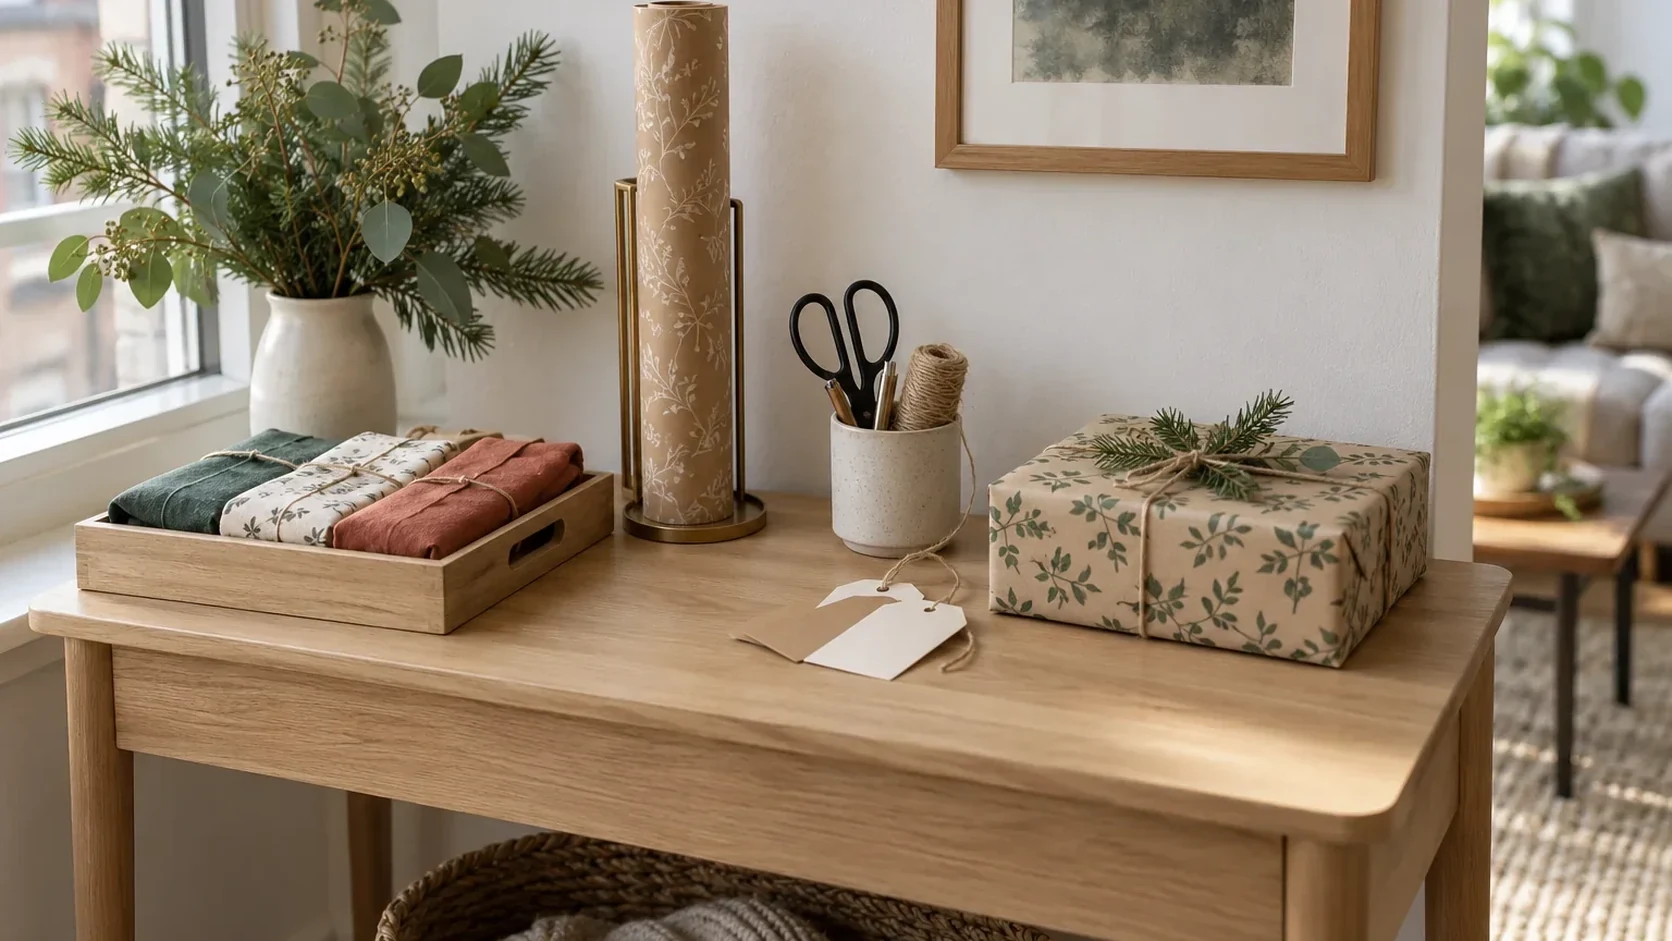
Gift wrapping has a way of spreading across the whole room: paper rolls lean against a wall, tags disappear, and the scissors end up under the table. A small-space gift wrapping station keeps the supplies you actually use together and gives everything a place to go when the last gift is wrapped. You can build one without buying a cart or giving up permanent floor space.
Choose a surface you already have
A dining table, a desk, or a narrow console can be your temporary wrapping surface. Clear an area large enough for your biggest gift box, then measure the space where the supplies will live afterward. A tray about 16 × 12 inches (40 × 30 cm) fits on many shelves; measure your own shelf before committing to that size.
Keep the work surface clear. The tray holds tools and small materials, while a single upright holder contains the paper roll. If a roll cannot stand securely, lay it flat on a shelf or store it behind a door where it cannot fall.
Make a one-tray supply edit
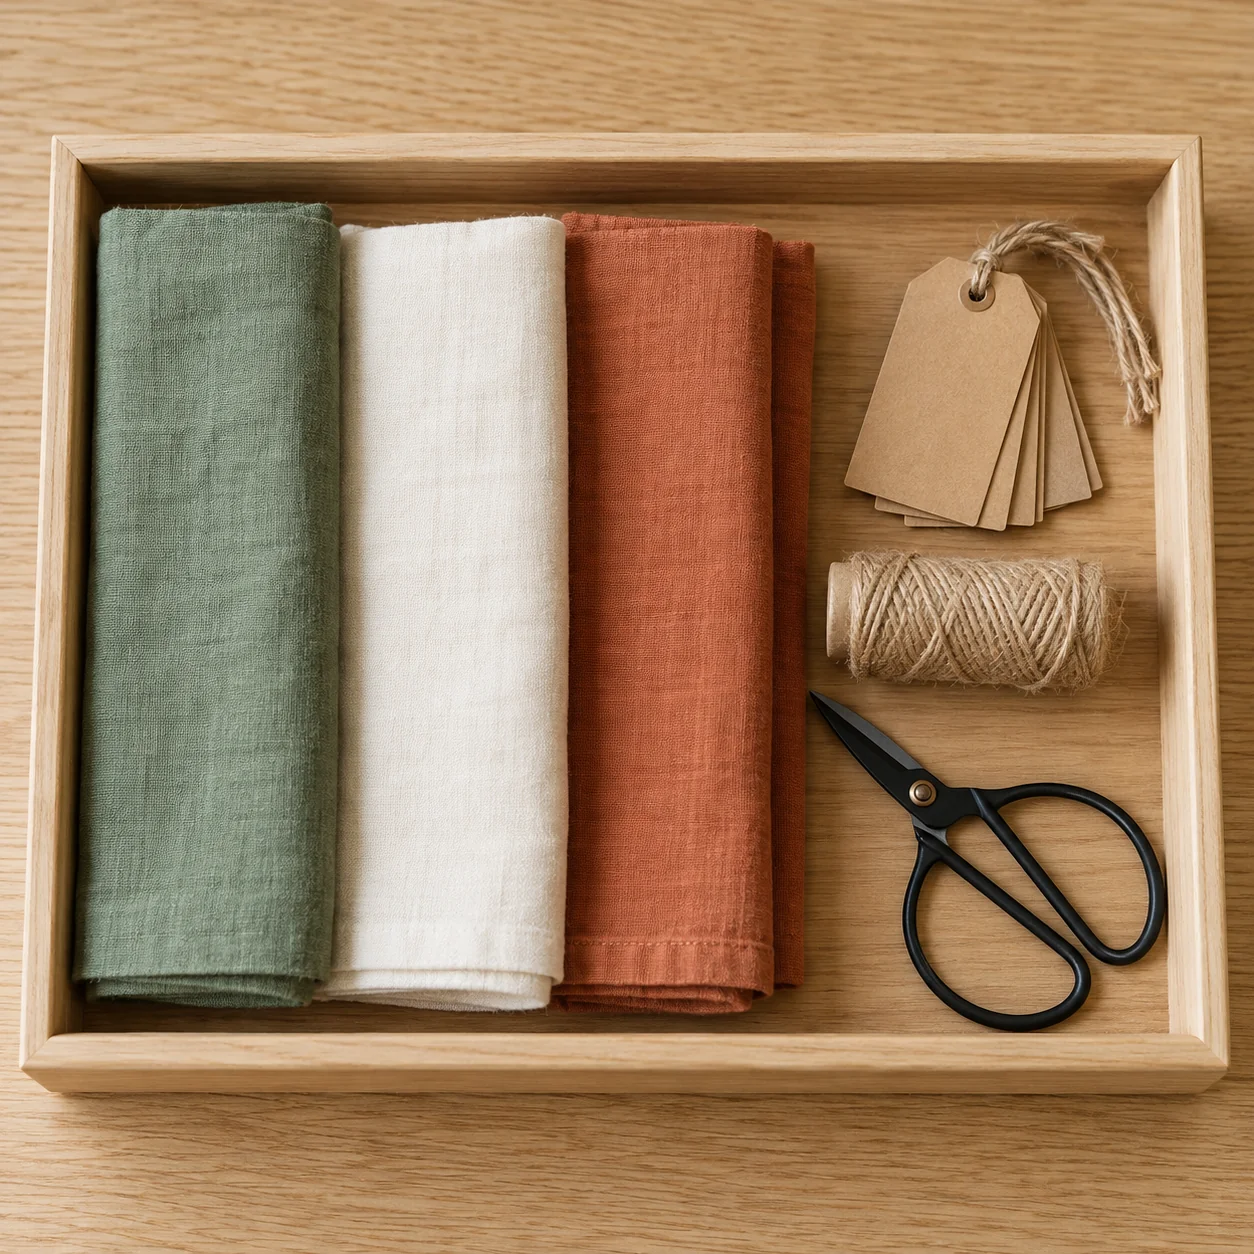
Start with one pair of scissors, one spool of twine or ribbon, a small stack of blank tags, and two or three pieces of reusable wrapping cloth. Add a short roll of tape if you use paper. Choose a shallow tray with handles or a low lip so small items do not slide away.
This is a working kit, not the entire gift-wrap archive. Store spare paper and seasonal extras separately. If the tray is too full to lift comfortably, remove duplicates before adding a bigger container.
If the table needs a quick clear-out before you start, use the site’s 20-minute guest-ready reset to make room without cleaning the whole house.
Set up the station in three moves
- Put the tray at the back or side of the work surface. Leave the middle open for measuring and folding around the gift.
- Keep the paper roll upright only if its holder is stable. Otherwise, place the roll horizontally where it will not roll off the table.
- Bring out only the wrap for the next gift. Return offcuts, tags, and scissors to the tray before starting another box.
For a simple finish, fold a cloth around a box and secure it with a short length of twine. A blank tag can be tied into the knot. If the cloth is too small to overlap beneath the box, choose a larger piece rather than pulling the corners tight enough to slip.
Where the station goes when you are done
Put the tray on a reachable closet shelf, inside a cabinet, or under a bed if the container is low enough and the spot stays dry. Stand a paper roll in a stable holder beside it, or lay it flat. Keep scissors closed and out of young children’s reach. Return reusable cloths only after they are clean and dry.
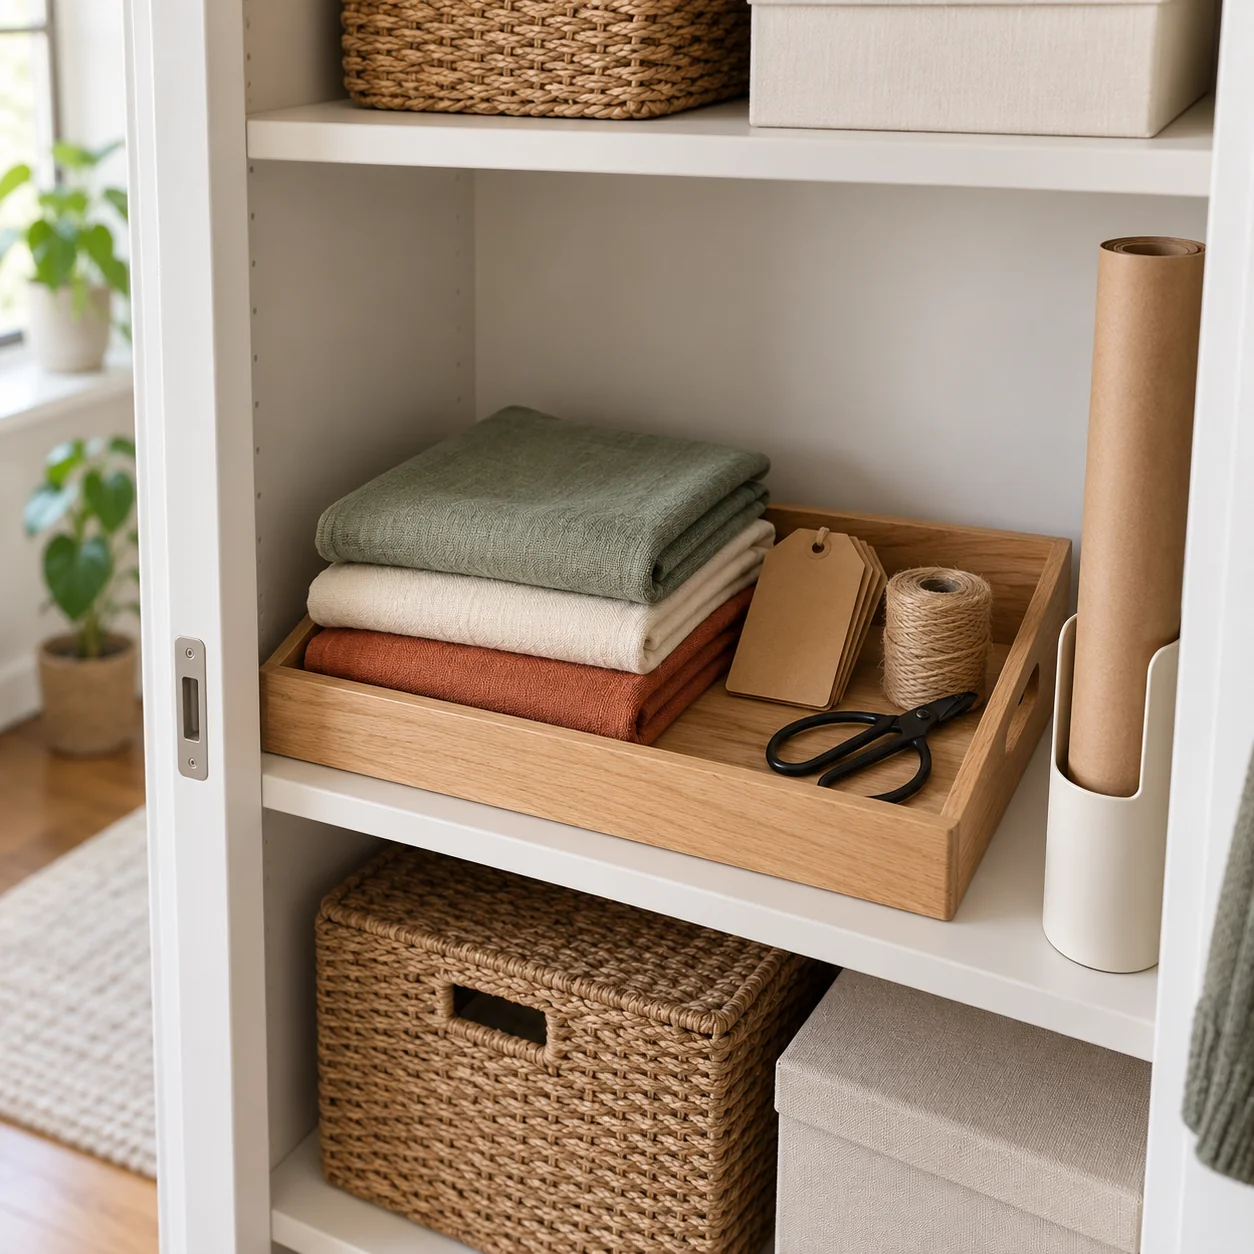
The same no-buy drop-zone approach can help you assign a home to supplies you already own.
Fix the problems that make wrapping messy
The tray keeps overflowing. Separate everyday tools from gift-specific decorations. One tray should be easy to carry in one trip.
The paper unrolls in storage. Slip a reusable fabric tie around the roll. Avoid tape directly on decorative paper if it could tear the surface.
Tags get lost. Thread blank tags onto the twine spool or keep them in a small envelope inside the tray.
The finished package looks bulky. Use a thinner cloth for small boxes, flatten the folds before tying, and tuck excess fabric underneath instead of forcing an oversized knot.
A quick reset checklist
- Close and put away the scissors.
- Return unused tags, twine, and tape to the tray.
- Fold clean fabric wraps by size.
- Secure or lay down the paper roll.
- Recycle suitable paper offcuts according to local rules; keep reusable pieces for small gifts.
- Wipe the surface and put the tray back in its storage spot.
The best station is one you can unpack and clear away without making gift wrapping a second organizing project. Once the tools have a home, there is more room to focus on the gift itself. If holiday planning is already crowding your week, borrow the limits-first method from this small at-home party plan: decide what matters, and let the rest go.